Leading up to this month of April I’ve been enjoying tidying up the summer garden and starting winter planting.
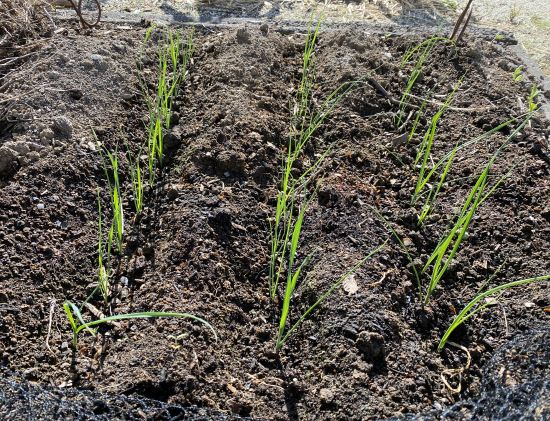
Our leeks planted last month are coming along nicely, and it’s now time to plant onions.
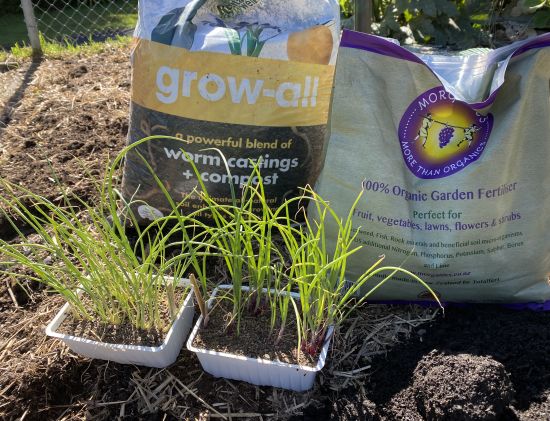
Last year you may remember we planted little onion (and leek for that matter) seedlings out in the garden in clumps to grow on, then lifted them from there to go to their final destination. This year I sowed onion seed in a regular size punnet and once they’d germinated and were a decent size I put them outside for a good few weeks. They have come on well, so that now that it’s time for planting, they’re a good size (and they’ve not had any interruption).
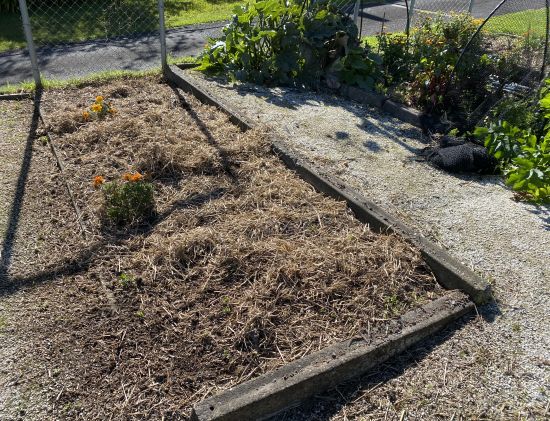
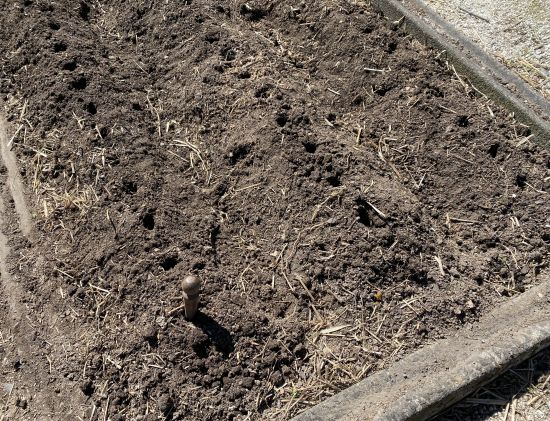
The first job is to prepare the bed. I’m using the old indeterminate tomato bed (fruiting to root crop rotation).
So I clear off the straw and fork through the soil to aerate it. It’s pretty friable thankfully.
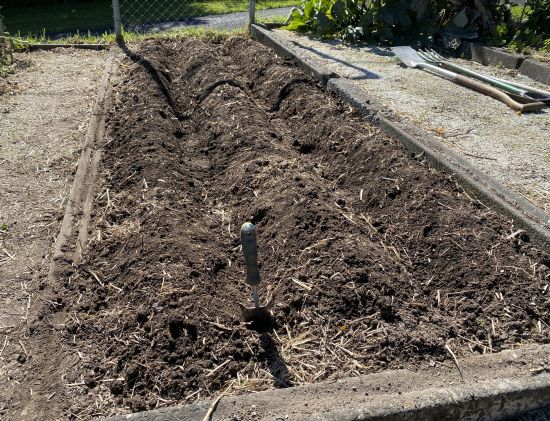
Then I add a bag of commercial compost and start the process of creating mounds. In this size bed I can make 3 mounded rows. We plant on mounds to assist with drainage, as onions don’t like wet feet. Make sure you pat the mounds down well as you don’t want them crumbling if there’s a heavy rain.
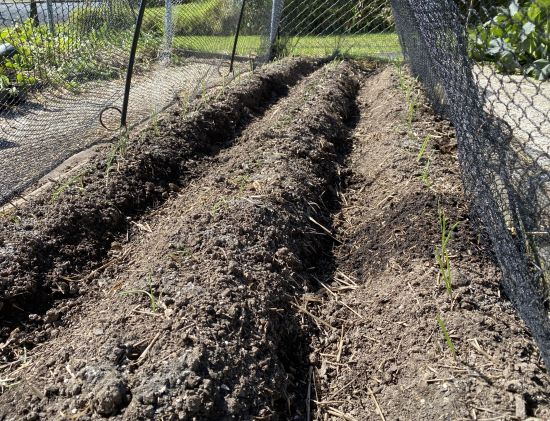
With my trusty dibber I make holes about 15cms apart which I find is wide enough.
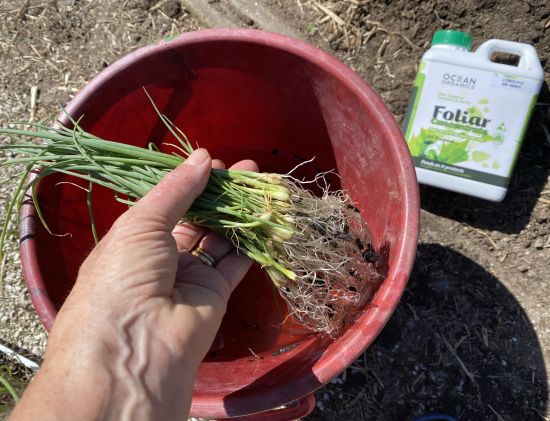
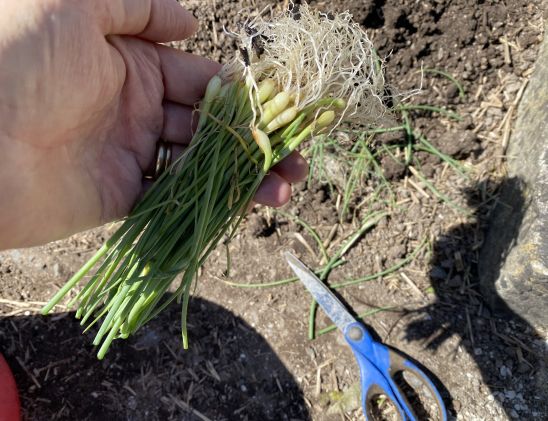
Then I lift the seedlings out of their punnet (it’s quite good if they’re a bit on the dry side), shake off the soil and plunge them into a bucket of water which has a splash of liquid seaweed in it. The liquid seaweed gives the seedlings a boost to get them off to the best start. Then they get a trim top and bottom. It’s easier to plant them with shorter roots, and trimming the tops off stimulates growth. Using your dibber, in they go.
Make an application of our multi-mineral fertiliser round each plant and give them a good water (pouring any leftover seaweed solution into the watering can). In go the hoops and over goes the netting to keep birds and animals away till they get established.
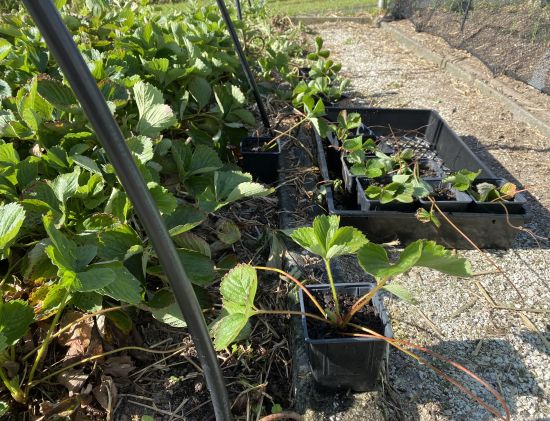
It’s also time to make new strawberry plants. I like to do this every year, but you don’t have to. Strawberry plants can produce well for 2-3 years. In May give established plants, which you may prefer to keep, a trim and a good feed and they should produce again well for you.
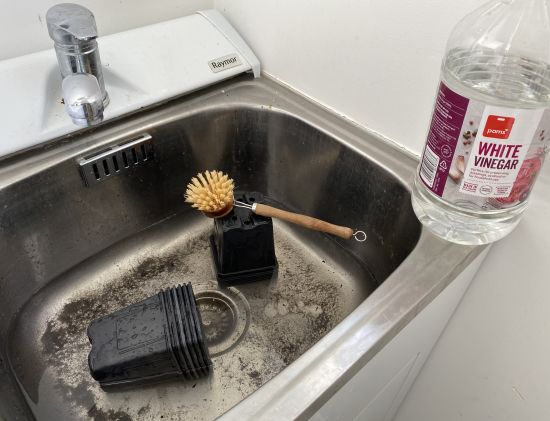
It’s super easy however to make new plants. I wash out old pots in water which has some white vinegar added to it
Then fill them with a good potting mix.
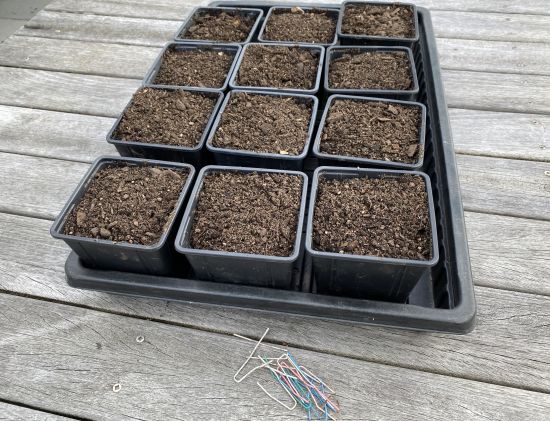
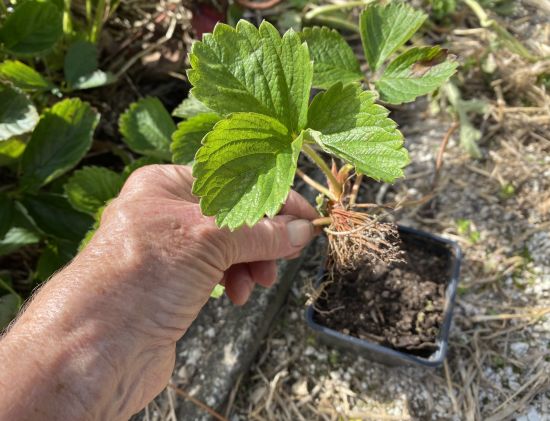
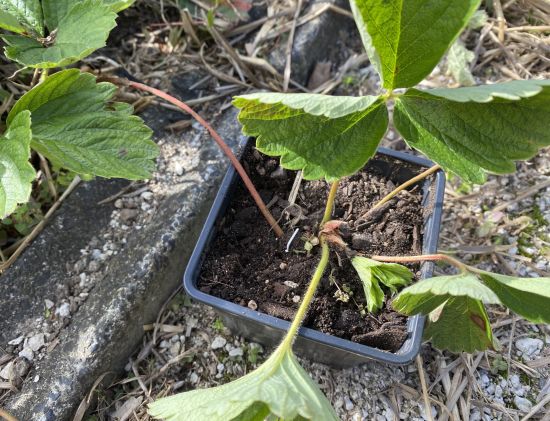
In the strawberry patch, identify what root formations you’re going to use – you may need to gently pull them out of the bed or pathway where they’re growing. Then simply push them into the potting mix. We make a pin out of a paper clip and pop that over the umbilical cord that goes back to the mother plant as, in the early stages until the root gets established, the new plant can easily come out of its pot.
You keep them attached to the mother plant until the plant is obviously growing on its own, then cut the cord. You can see a few plants in the images (in the tray) that became detached from the mother plant as I was taking the netting off the bed. I have potted them up so as not to waste them, and I think they’ll do okay on their own.
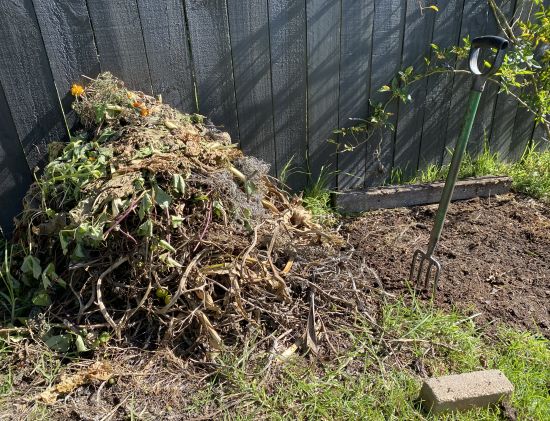
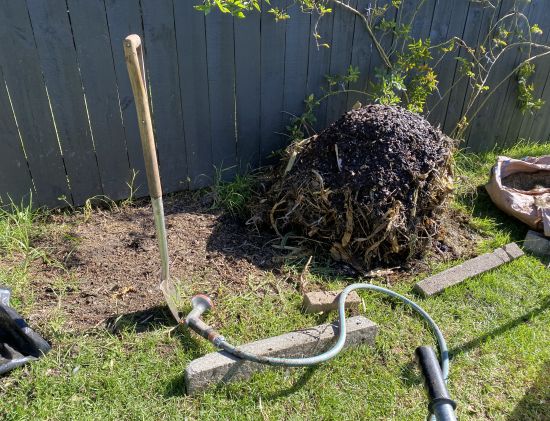
We have a big pile of biomass now from the summer crops, so it’s time to make another hot compost. See here for how Rob does it. I make ours in a freestanding heap and it works just great.
April is a good time to sow root crops – carrot, beetroot, radish, Florence fennel (var. Romanesco for winter), turnips.
Start sourcing organic garlic for planting later this month. Even though we’ve had absolutely no success growing garlic, I’m giving it one more go this year, now that we have our super sulphur prills. I’m hoping they’ll keep fungal infections at bay.
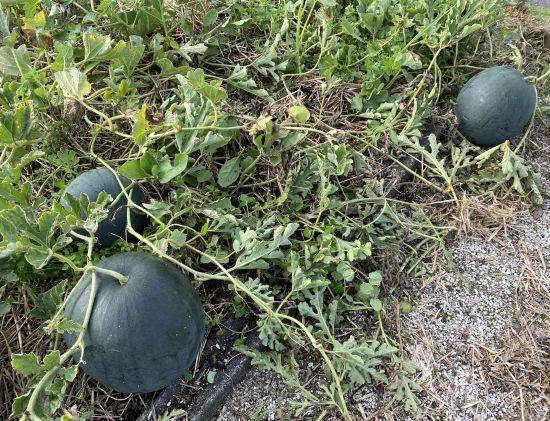
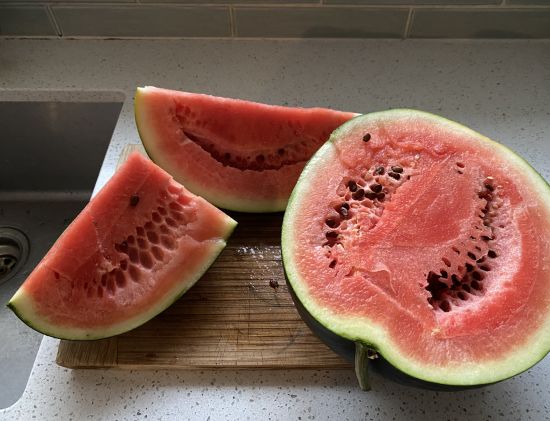
And in the last couple of weeks we’ve been enjoying Sugar Baby watermelons. Yum, yum. Such a lovely treat at this time of the year. And the feijoas are just starting to ripen. Autumn fruit is my favourite.
Enjoy your autumn gardening!
Jan and Rob
PS A note about our Organic Microgreens 3-pack growing kit – we’re putting the price of $15, which it’s been all these years, finally up to $18 (so $6 per punnet instead of $5) – the rising costs of the contents is the reason. Just a heads up 😊
8 Responses
Hi there.
Please tell me more about the sulphur pills.
Rust decimates my garlic every year so hopefully these will sort this very frustrating issue.
Hi Phillip This is what I’ve been putting on my garden to correct a lack of sulphur and too much alkalinity… https://www.fertco.co.nz/shop/product/558627/elemental-sulphur-prills-ndash-biogro/?variantId=1585175 I just gave Fertco a ring and we sorted a local supplier for them to send it to me. We can’t guarantee that it will sort rust in garlic, but I’m certainly giving it a good shot this year. Sulphur is a natural fungicide among other things, so here’s hoping.
Hi Jules We favour the variety Camarosa as it fruits for a long period and is a robust plant. You can purchase plants at a garden centre to get you started, then start making your own from there. You could start with seeds, but it’s a long journey. Strawberry plants are not generally available in shops till around August.
Garlic is probably one of the easiest plants to grow, it’s the rust that gets to them that makes it hard. Use the biggest cloves you can and try to source fresh seed but not from an area north of you. Lincoln Uni found that Psyllid cloth was effective in keeping fungal spores at bay, you might want to try it. You only need a small square to grow 50 bulbs of garlic so you are not looking at a large area.


8 Responses
Hi there.
Please tell me more about the sulphur pills.
Rust decimates my garlic every year so hopefully these will sort this very frustrating issue.
Hi Phillip This is what I’ve been putting on my garden to correct a lack of sulphur and too much alkalinity… https://www.fertco.co.nz/shop/product/558627/elemental-sulphur-prills-ndash-biogro/?variantId=1585175 I just gave Fertco a ring and we sorted a local supplier for them to send it to me. We can’t guarantee that it will sort rust in garlic, but I’m certainly giving it a good shot this year. Sulphur is a natural fungicide among other things, so here’s hoping.
What if you are starting strawberries from scratch? Can you buy heirloom seeds?
Hi Jules We favour the variety Camarosa as it fruits for a long period and is a robust plant. You can purchase plants at a garden centre to get you started, then start making your own from there. You could start with seeds, but it’s a long journey. Strawberry plants are not generally available in shops till around August.
Garlic is probably one of the easiest plants to grow, it’s the rust that gets to them that makes it hard. Use the biggest cloves you can and try to source fresh seed but not from an area north of you. Lincoln Uni found that Psyllid cloth was effective in keeping fungal spores at bay, you might want to try it. You only need a small square to grow 50 bulbs of garlic so you are not looking at a large area.
Is the psyllid cloth something that covers the plants or in the ground underneath?
Hi Helen We would use it to cover the plants.
Yes agree, it’s the rust that’s the problem. Thanks for those tips 😊