A bit late getting this month’s post out, but that’s because we’re having days of glorious rain, it’s too wet to get out in the garden, and the garden couldn’t be happier.
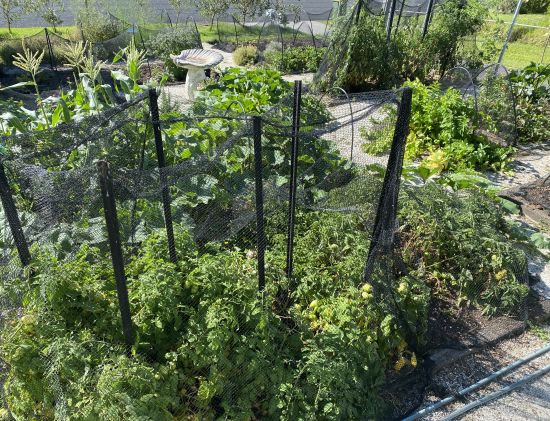
It’s time for the big changeover. We’ve gone from abundant green in spring…
to parched brown in autumn…
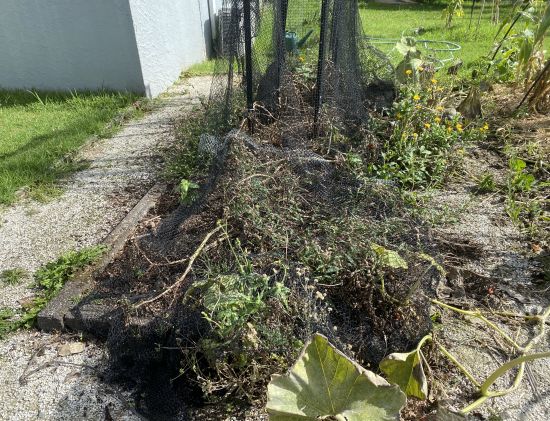
So it’s out with the tomato and pumpkin vines – they go on the biomass pile for the next hot compost. And in with the new autumn/winter planting.
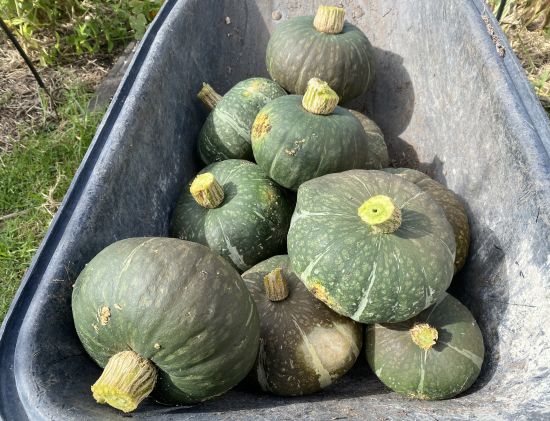
I’m a bit boring in my love of buttercup pumpkins, but thrilled with this year’s haul. I could have left them on the vines a bit longer (the longer you leave them the sweeter they are), but they’re taking up valuable space.
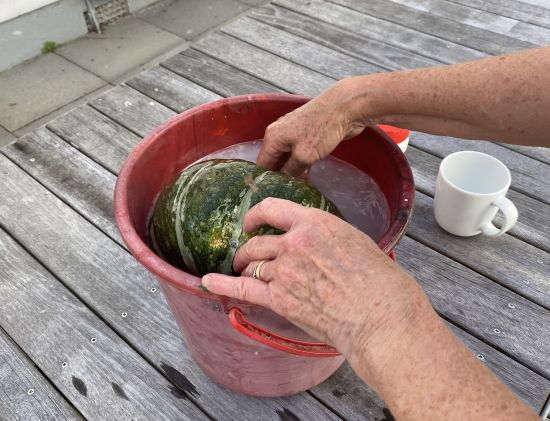
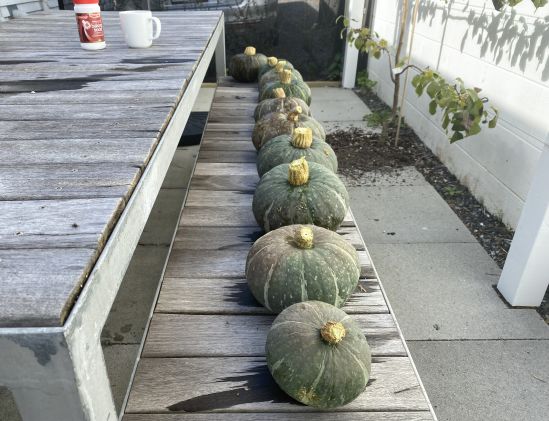
They are not as good storers as crown pumpkins and butternuts, but I’m preserving them as best I can. Firstly cut them well above the fruit so there’s a nice long stem attached. Next mix up a solution of baking soda and water (1 cup to a small bucket of water) and douse each one in it.
Choose a time to do this when you know you’re going to have a stretch of fine days, as after the bath, they’ll sit out in the sun to harden off. A week to 10 days like this is good. Then they can be stored somewhere cool, not touching each other.
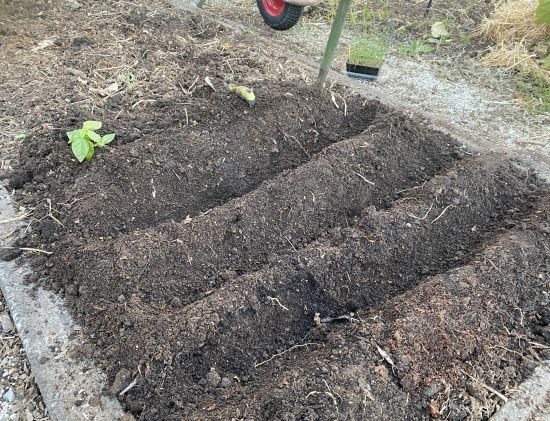
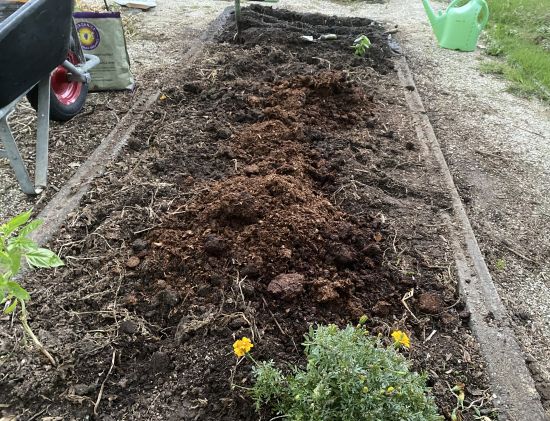
Into the Roma and Scoresby Dwarf bed I’m making space for our leeks and the first of the brassicas will go into the rest of the bed.
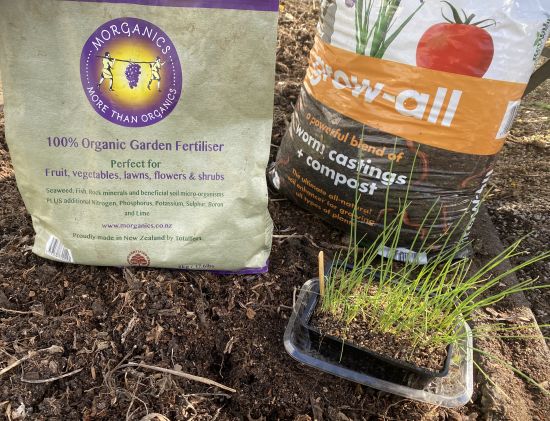
After clearing the bed I fork it through to aerate it, then in the leek part of the bed I add some commercial compost, because it’s finer than our homemade one and the plants are delicate, along with some Morganics multi-mineral fertiliser and I work them in together.
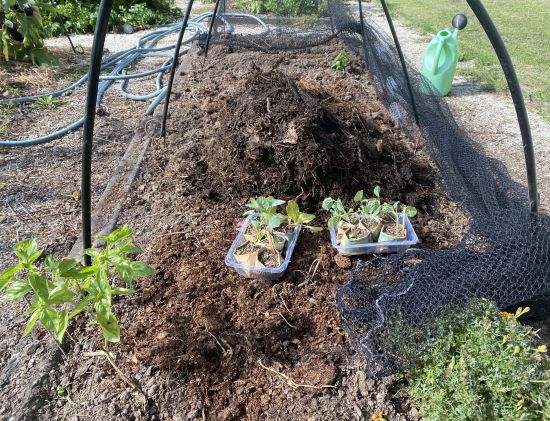
Then using a trowel I make, in our case, 3 troughs. Pat down the hills on either side so they don’t crumble down, as the seedling is going in the bottom of the trough. As it grows you’re going to knock down the hills and so create a nice long white lower part of the leek.
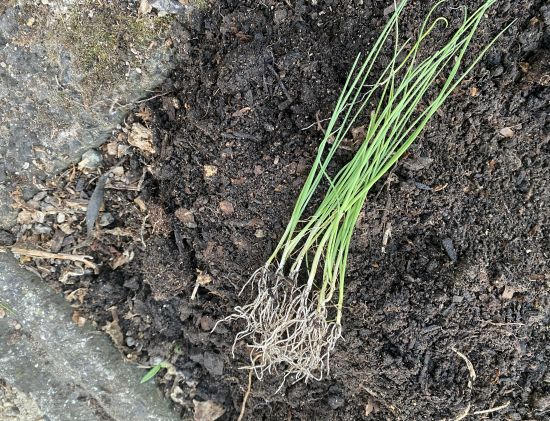
Cut your plants out in clumps from the punnet with a knife. Depending on how long the roots are you could give them a trim. It makes it easier to plant them and also gives them a boost.
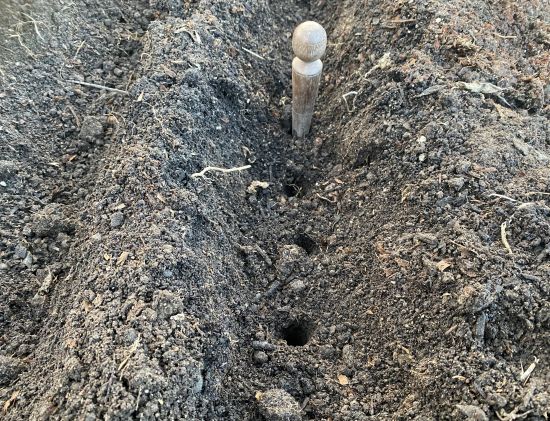
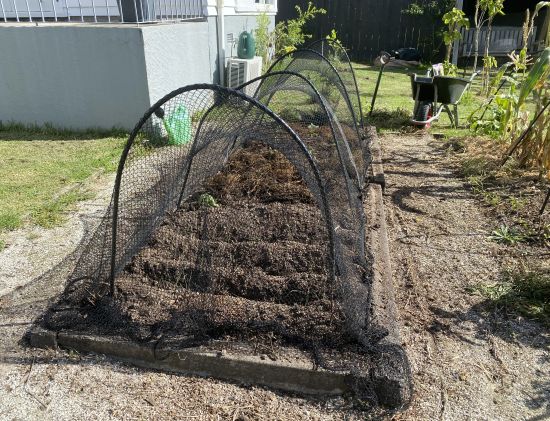
Then using a dibber or similar, make holes about 7 cms apart, and pop the seedling in and cover over. Give them a water and cover with hoops and nets to keep them safe from foraging birds.
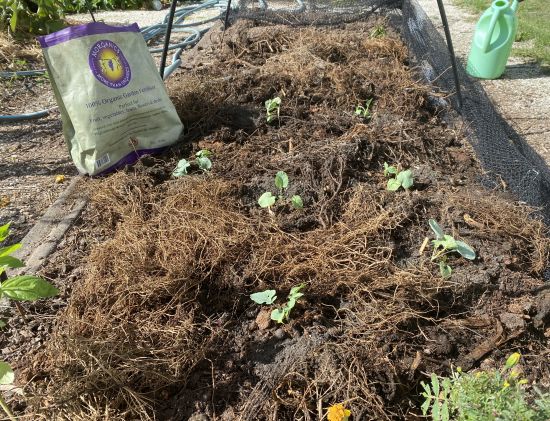
Down the other end of the bed I prep for brassica planting. So the soil has been aerated with a fork, then I trench in vermicast from the Hungry Bin worm farm. I trench it because the birds really like this stuff (it often has the odd worm farm worm in it). Then a generous application of a nitrogen source – this is chicken manure.
Then some of our homemade compost which is quite chunky as always, but the seedlings are big and strong. Then in go the plants with a handful of our Morganics multi-mineral fertiliser round each one and a good water in. These should get some good growth going on them, so we’ll be enjoying them at the beginning of winter. I’ll sow, prick out and plant more each New Moon phase until it’s really cold or the garden is full.
So in this bed we’ve gone from this…
to this…
The other good thing to be doing at this time of year is creating a winter planting scheme incorporating crop rotation. The ideal rotation is nitrogen-fixing to root to fruiting to leafy green, but practicality and timing rules. One thing I do in the winter is plant a green manure crop in the most needy bed – either one that’s done a lot of work over the summer, or in our case, I’m putting it in the bed that got a bit water-logged last winter to give it a clean out and to that end I’m planning on putting in mustard. It may not last very long, in which case I’ll follow it up with blue lupins.
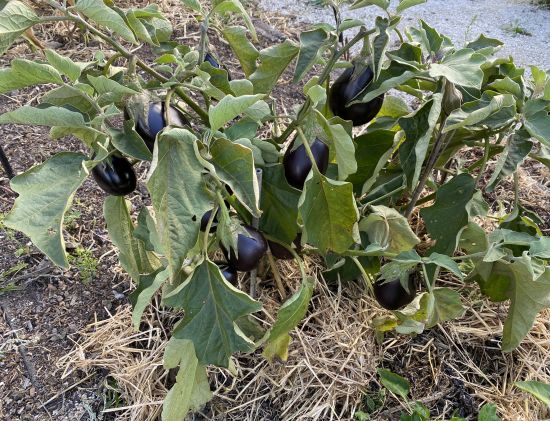
Our eggplants are great.
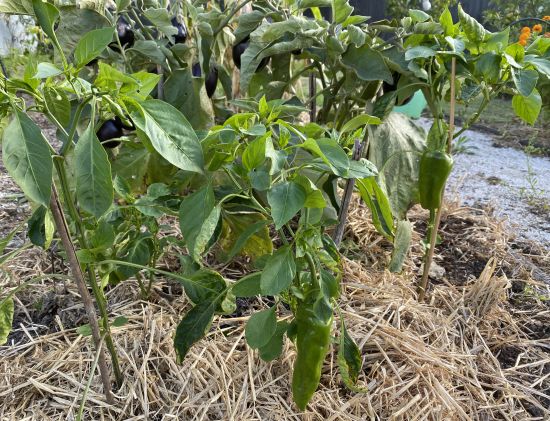
Capsicums are extremely late to fire this year. Have given them a boost of comfrey liquid recently.
Later this month we’ll be making new strawberry plants out of the runners of this year’s crop, planting some dwarf peas to eat and sweet peas for beauty, and more carrots and beetroot in the Full Moon phase.
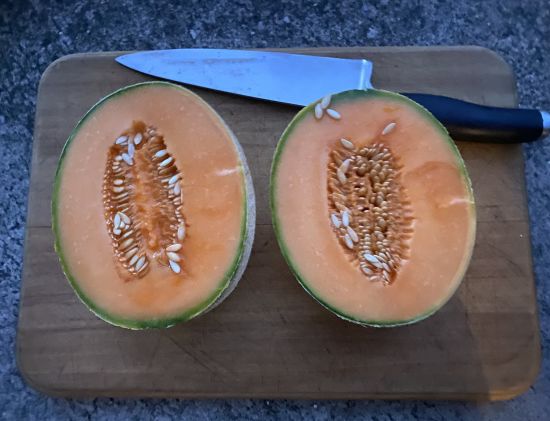
Lastly, our rock melons are a huge success – loving them. Watermelons still on the vine, leaving them there for a bit longer for ultimate sweetness.
Happy gardening!
From Jan and Rob
8 Responses
Thankyou. This is so helpful
Looking forward to implementing your knowledge.
Brilliant website.


8 Responses
Thankyou. This is so helpful
Looking forward to implementing your knowledge.
Brilliant website.
Fab 🙏
Awesome post as always. Inspiring too, so off to the garden I go. Hmm, need to do a seed packet rummage first.
Yay 😊 Remember to keep your seed packets in the fridge.
Do you treat all pumpkins with the baking soda mix? We only grow crown pumpkins,our storage rate is not the longest.
Yes. Have a look at Rob doing it with lots of different varieties… https://organicediblegarden.co.nz/2015/04/10/10-april-2015/ and storing them… https://organicediblegarden.co.nz/2016/04/29/29-april-2016/ from 4:44
Thank very much for all your helpful information. And Buttercup pumpkins are my favourite, so you can go on about them as much as you like 🙋🏼♀️🌈Diane
Yay 😄