It’s Winter Solstice and time for winter to start in earnest. So far so good!
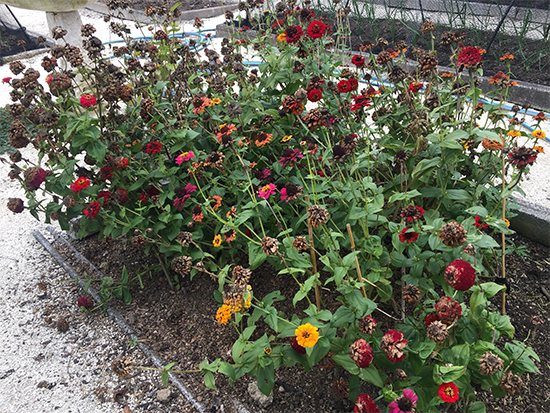
My main achievement since our last post has been to plant 18 strawberry plants. Finally got my hands on some. Strawberry plants like a slightly acidic soil, unlike most vegetables, so I thought it might be good if they went in the half bed that I had the zinnias in as it’s self-contained.
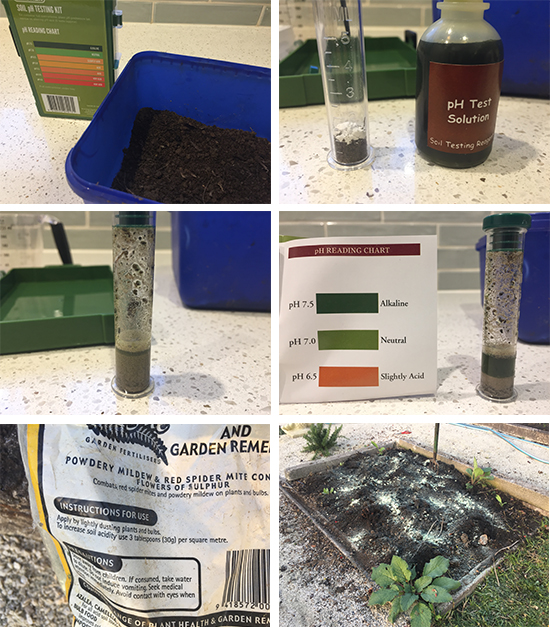
I invested in a pH soil testing kit. Followed the instructions and found we have Neutral-Alkaline soil here. Make sure you dig down a wee way and use that soil when testing. So, it needs acidifying. Adding sulphur is the best way of bringing the pH down. I have some Flowers of Sulphur from the summer, so I applied that over some new compost (compost tends to be on the acidic side of the scale too). It will take a couple of months to act, so I have raced ahead and planted the strawberries and if I keep them in this bed we can work on lowering the pH over time.
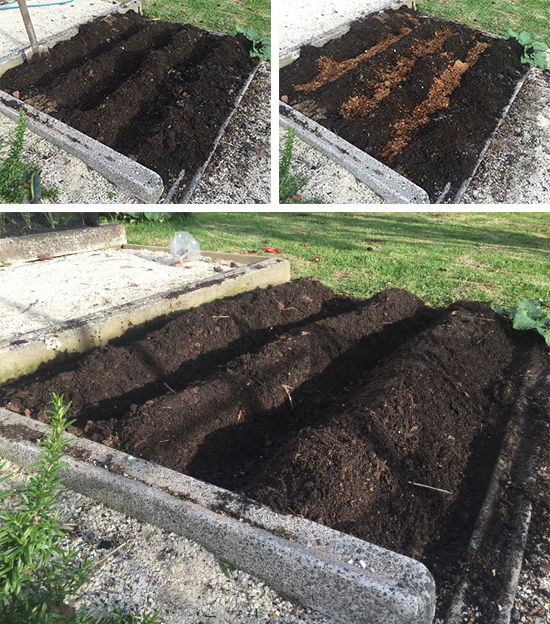
Rob has a nifty way of planting strawberries. First make trenches where you’re going to plant, then add a nitrogen source (we used chicken manure) and cover that over, forming mounds of soil as you go (hopefully you can see the trenches becoming mounds). The idea is that the plants don’t need nitrogen at the time of planting – they need to form good roots at the start – but once that’s happened they need the nitrogen to grow great foliage and fruit, so the roots will find the nitrogen as they grow down.
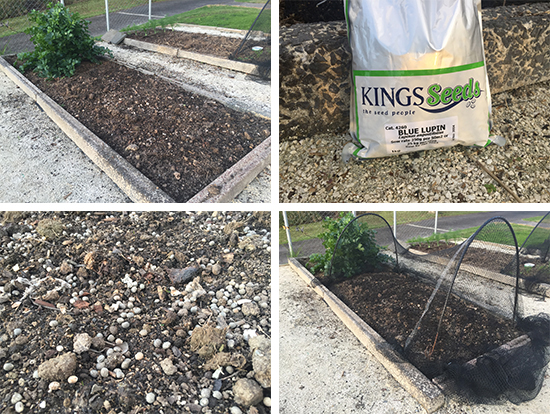
Soak your plants in a liquid seaweed solution to give them a boost, then in they go on the mounds. Apply rock dust round each plant which helps with roots and fruit. Then cover in the trenches (I used my old straw for this) and around all the plants with a mulch – a straw or black polythene works well. This is so the fruit doesn’t sit on soil which could cause it to rot. Use the liquid seaweed solution to water the plants in. And always use netting as the birds will love messing in the strawberry patch.
I feel like I’m a bit late with my other jobs, but better late than never. I’ve just sown lupins in one bed that I know I won’t plant veges in over winter. The soil needs energising as it was last summer’s leafy green bed and the lupins will effect this.
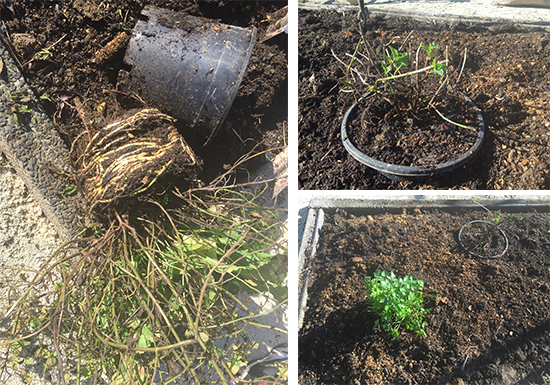
I re-located the parsley to the new leafy green bed and also the mint which was in need of some refreshing. Planting mint in a pot with the bottom cut out of it is a brilliant way to contain it. Just look at the amount of roots that could have ended up in this bed had we let the mint free range. I chopped the tops and roots back with secateurs and planted it afresh in its bottomless pot.
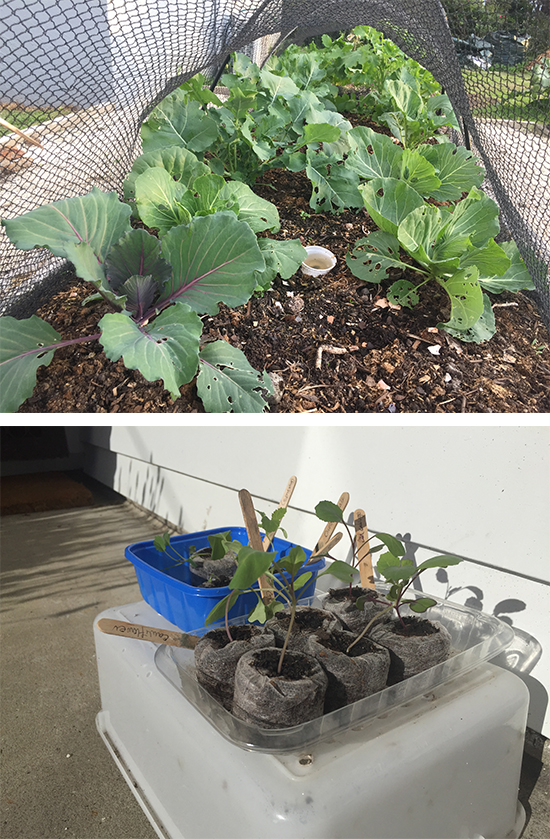
The brassica bed is doing well (lots of holes I know, but we won’t be eating those bits), but I need another bed of them – this won’t be enough. It’s a bit late to plant more, but I do have some young seedlings coming along. I’m leaving them outside at night now to harden them off and will put these in this week in the New Moon phase. In this bed are a couple of brocoletti plants – I had intended to plant broccolini, which I love, but couldn’t find any seed at the time, so I sowed brocoletti instead. The brocoletti does not taste good though (sort of bitter, and yet I don’t mind bitter) and the heads are not very big, so these two plants (further down the bed) are definitely for the compost pile.
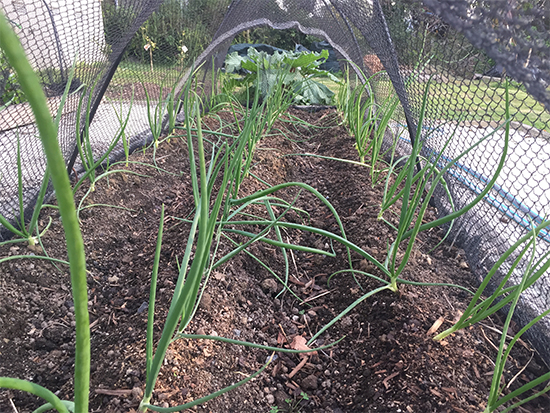
The alliums all look healthy and strong. These are brown and red onions…
The leeks are doing okay – maybe not enough sun as the peas are shading them. Will get the peas out soon when asparagus crowns become available.
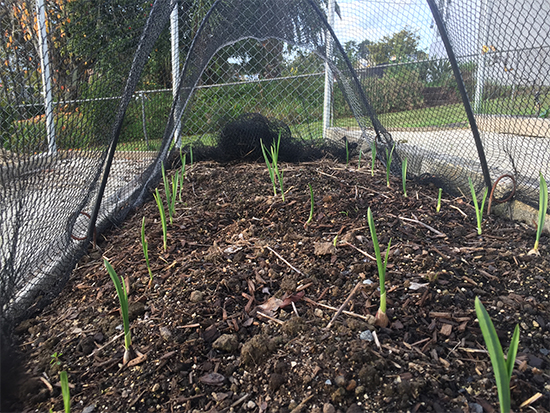
And the garlic is taking off.
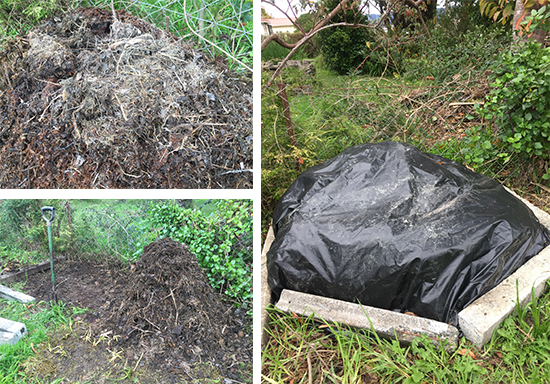
It’s 4 weeks now since I made the hot compost. Last week I turned it and found loads of dry stuff, which is not good. So as I created a new mound I added water at different stages. I haven’t taken its temperature, but I can feel it’s cooking by just touching the outside. Rob said it will take a bit longer than 4 weeks, as it’s winter.
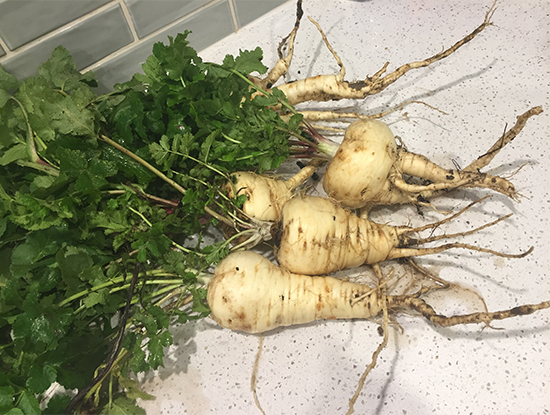
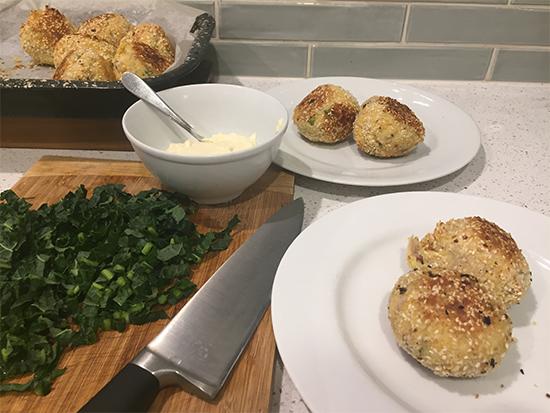
The parsnips sown last spring are ready to eat! You can see they’re a bit short, so will need to fork the soil deeper before sowing this year’s crop. But, they are delicious! I love how crisp they are when I cut them.
Keep warm and stay well with the goodness of your homegrown produce!
From Jan, Rob and the Team at OEG!
6 Responses
Hi. What do you recommend for bad infestation of aphids on cabbage/kale seedlings. Have done the neem granules in hole when planting. Also what would you recommend for cauliflower plants not forming heads on the plants? Thanks.
Were it me, I’d also be spraying fortnightly with Neem oil. If the infestation is bad, add a bit of Pyrethrum to the first spray of Neem oil for fast knockdown.
Hi Sonia We think the application of Neem Oil is good as well as Claire’s suggestion of white vinegar to get rid of the aphids. Other ideas are diatomaceous earth by BioGrow https://diatomaceousearth.co.nz/uses/garden-pest-control – apply on a dry day as it’s a powder. And an old and effective method is a squirt of a plant-based dishwashing liquid in a some water – this does the job too. Make sure you apply it a few times every 2-3 days.
Regarding cauliflower not forming a head, do you mean it’s not forming a tight head, instead the florets are splaying out? That has to do with growing a variety suitable for your climate – the cold produces good tight heads. If you live in a warmer climate you need to grow a variety suitable for that. Kings Seeds ‘All The Year Round’ is a good one for warmer climates. Also a feed of rock dust which has a good dose of potassium which is good for flowering would be helpful.
All the best! Let us know how you get on 🙂


6 Responses
Hi. What do you recommend for bad infestation of aphids on cabbage/kale seedlings. Have done the neem granules in hole when planting. Also what would you recommend for cauliflower plants not forming heads on the plants? Thanks.
Were it me, I’d also be spraying fortnightly with Neem oil. If the infestation is bad, add a bit of Pyrethrum to the first spray of Neem oil for fast knockdown.
What about dusting with Diatomaceous Earth!
Definitely 🙂
I m finding a solution of white vinegar and water 1-6 sprayed on the infestation is helping.
Hi Sonia We think the application of Neem Oil is good as well as Claire’s suggestion of white vinegar to get rid of the aphids. Other ideas are diatomaceous earth by BioGrow https://diatomaceousearth.co.nz/uses/garden-pest-control – apply on a dry day as it’s a powder. And an old and effective method is a squirt of a plant-based dishwashing liquid in a some water – this does the job too. Make sure you apply it a few times every 2-3 days.
Regarding cauliflower not forming a head, do you mean it’s not forming a tight head, instead the florets are splaying out? That has to do with growing a variety suitable for your climate – the cold produces good tight heads. If you live in a warmer climate you need to grow a variety suitable for that. Kings Seeds ‘All The Year Round’ is a good one for warmer climates. Also a feed of rock dust which has a good dose of potassium which is good for flowering would be helpful.
All the best! Let us know how you get on 🙂