Some much-needed rain falling as I write – pleased I got my garden jobs done in time.
We’re moving now into a New Moon phase when the time is right to plant a second lot of traditional brassicas like broccoli and cabbage, and also to get in some Asian greens (also brassicas) like pak choi, tat soi and mizuna. Asian greens are easy to grow, hardy and provide leafy greens in wintertime.
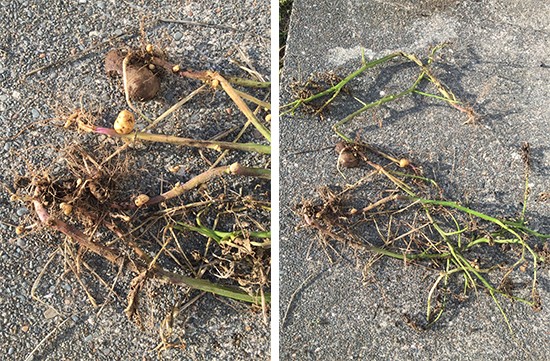
So, what’s been happening in our garden this week? Well I’ve had the best of crops and the worst of crops. Let’s start with the worst and get that out of the way. Look at the result of my planting of Agria potatoes 3 months ago.
Looks like I put them in last week! I’ve left them in on the off-chance they grow more. Very strange course of events – the plants thrived, we had lovely white flowers (the sign they’re ready) and then the leaves died off. But they just never matured. I grew them exactly as I had the early season potatoes which produced magnificently and the soil was brand new, so I’m at a loss to know what happened.
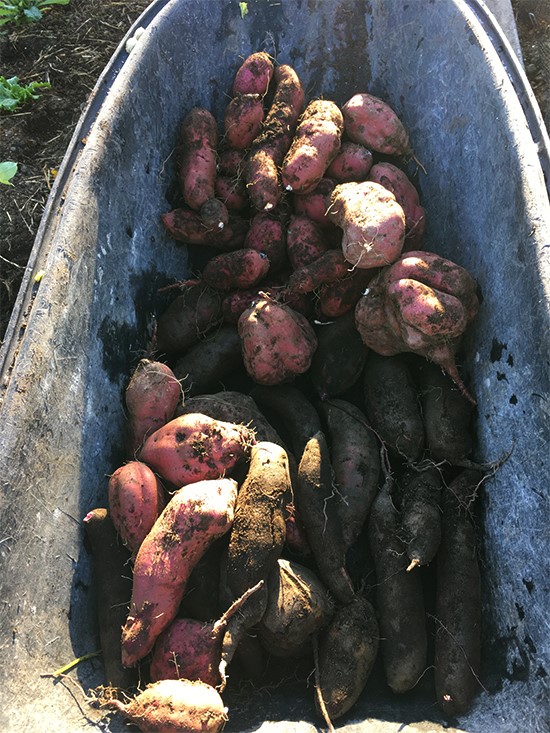
But the best of crops is the kumara…
I might have had them in the ground a touch too long. It seems they should be in for 130-150 days and I think mine were in for around 160 days. The purple-fleshed ones have a few furrows, which looks to me like they might be over-cooked, but the white-fleshed ones are perfect.
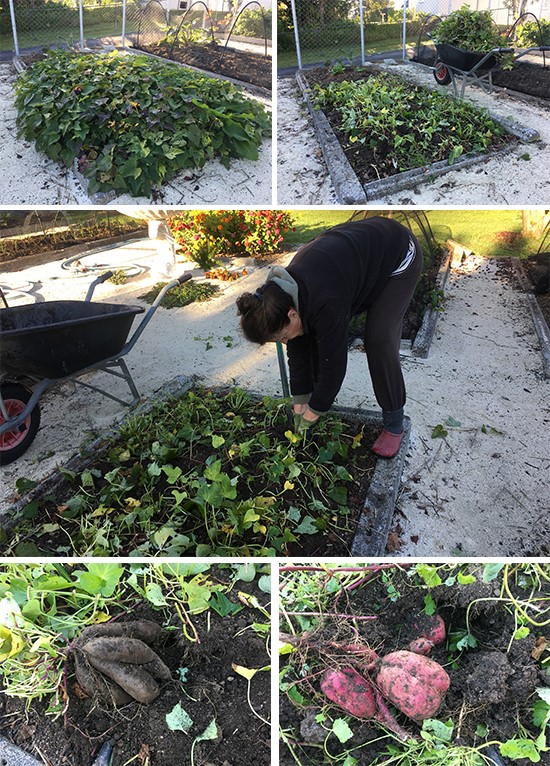
So I started by cutting the green tops off. Then with a fork I gently loosened the soil around each plant and very gently removed them one by one. If you damage kumara when you’re harvesting it, it won’t store, so those ones need eating up straight away.
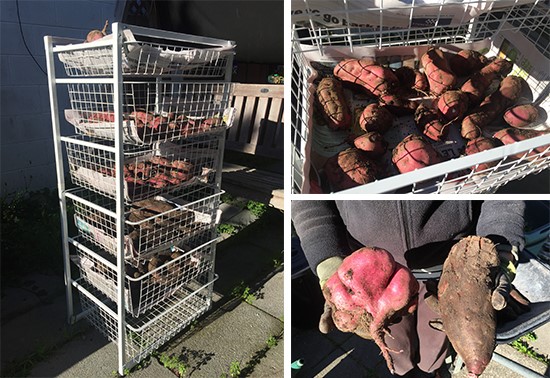
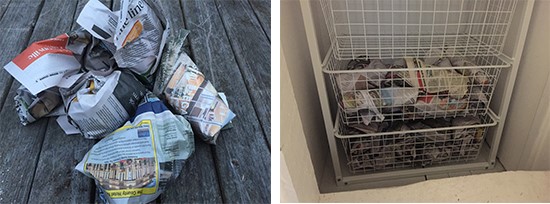
Kumara need hardening off or curing before storing. If it’s warm enough you could leave them on the soil, but it’s getting chilly at night at our place, so I laid them out on newspaper in the storage unit I’m going to put them in for the long haul, left it out during the day but brought them in at night. I did this for 3 days. It’s good to have air all around them if you can. Hope you like the giant ones!
Then they got wrapped up all individually and stored in the semi-outdoor dark cupboard.
Maori used manuka brush in between the layers of kumara (you can see it piled up on the right of this image from NZETC).
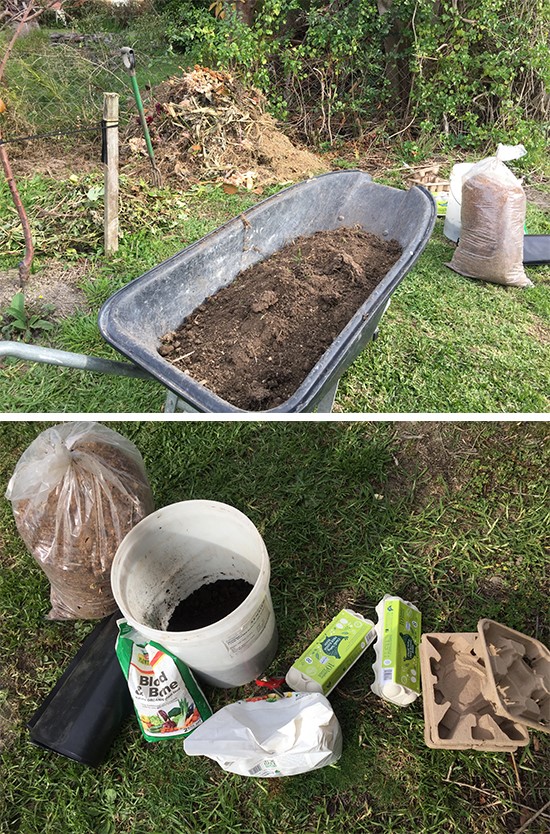
My second job this week was to make a hot compost from the remains of our summer crops. Firstly I assembled the ingredients for my “cake”:
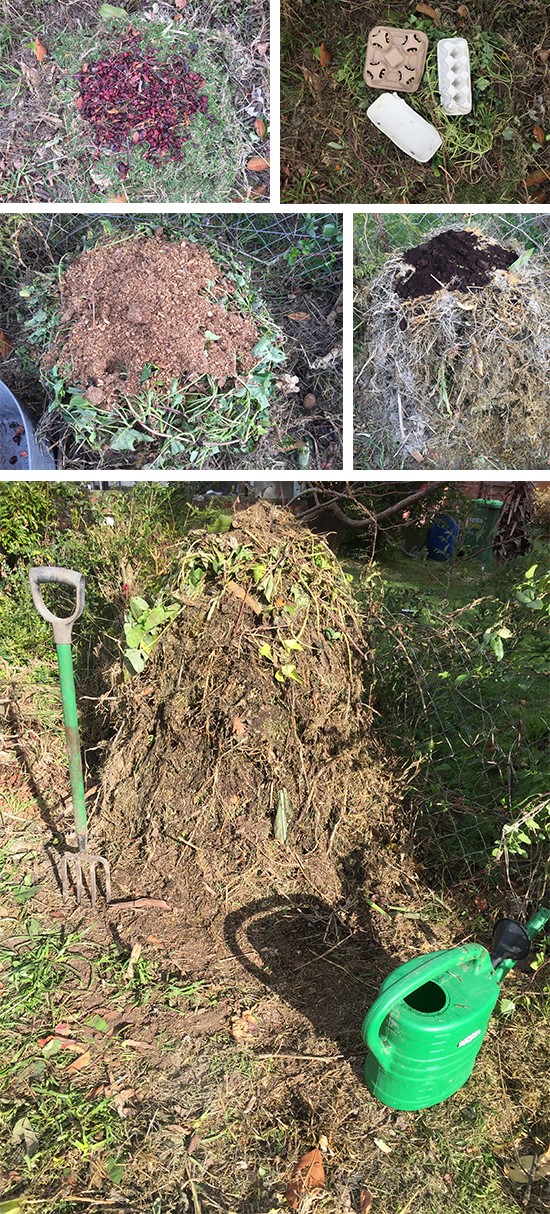
Nitrogen – fresh grass clippings, kumara tops, chicken manure and rotting guavas (which dropped from the parts of the tree we couldn’t climb to)
Carbon – egg cartons (this list could have included scrunched up newspaper and straw, but I didn’t because our biomass had partially converted into carbon)
Biomass – the remains of the summer crops (part carbon, part nitrogen) – you need lots of this to ensure you can build the heap to a cubic metre
Activators – rock dust, blood and bone, coffee grounds
Soil and water
I repeated this 3 times. This is how I did it, but Rob says the key thing is to layer like a lasagne – the order in which you layer is not as important. You’re aiming for a cubic metre – this is the magic dimension to get the science of a hot compost working. Mine ended up probably higher than wide and deep, but the best I could do in a free-standing pile.
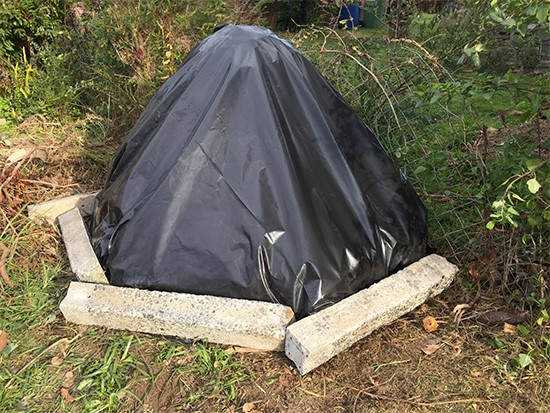
Then I covered it all with black polythene to help it warm up from the outside as well as the inside.
Like a cool little dalek in our yard.
Here’s a video of Rob making hot compost. As he says at the end, after 48 hours it should have heated up to 70 degrees Celsius; after 1 week it should have reduced by half, after 2 weeks it should have reduced to a third, turn it over in the third week, and it should be ready by the fourth.
48 hours later and this is the temperature – it’s hot on the outside and the inside – happy!