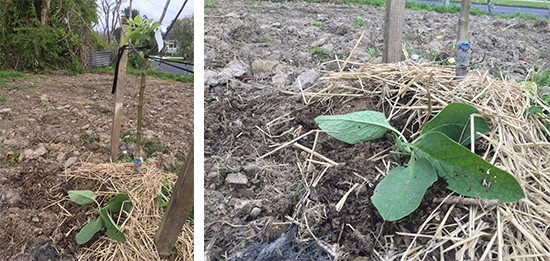
Beans
And lastly, BEANS – time to sow beans while we still have the First Quarter moon phase. Few technical issues here around the bean structure, otherwise I would have mine in too, but life often gets in the way of gardening in the right moon phase!
Hope it’s all going well at your place!
From Jan, Rob and the Team at OEG!


5 Responses
Hi, Thank-you for another informative blog.
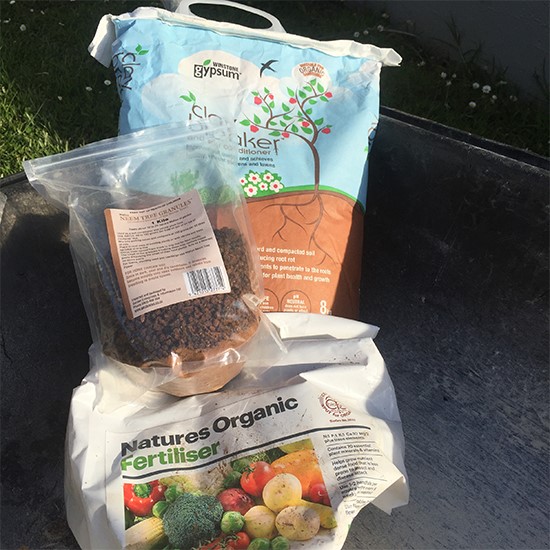
question: You mention “rock dust” whenever you plant, I looked for it at a couple of plant “shops” recently visited but was unable to spot it. Is there another name for it please?
Regards
Peter.
Hi Peter
Environmental Fertilisers in Paeroa make a product called Natures Organic Fertiliser which is a certified organic blend of phosphate rock, humic acid, seaweed, vermicast and paramagnetic basalt rock dust. Kings Plant Barn in Auckland sell it, otherwise we do on our site here… https://organicediblegarden.co.nz/shop/organic-fertiliser/ We swear by it for adding vitamins and minerals to the soil that are vital for good health..
Hi, thanks for that reply. We are in the South Island, will check out local garden outlets and hope to find a supply.
regards
Peter.
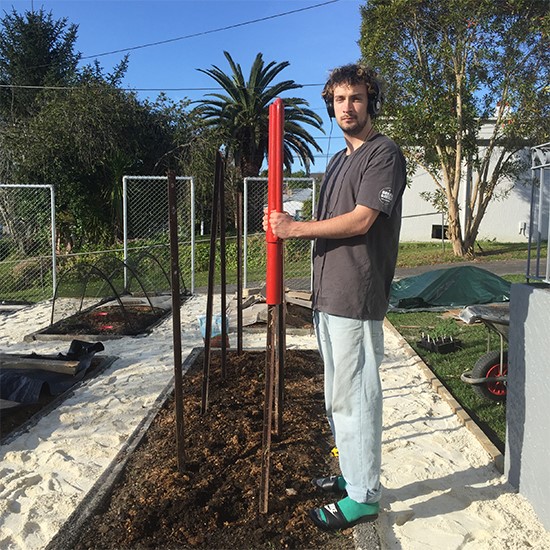
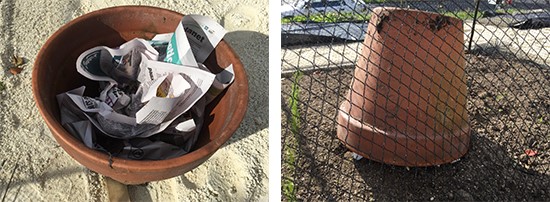
Hello! thanks for sharing. my question is, Can i use that in my country ? Where i can get that tools ? Ot is that just like an iron bar ?
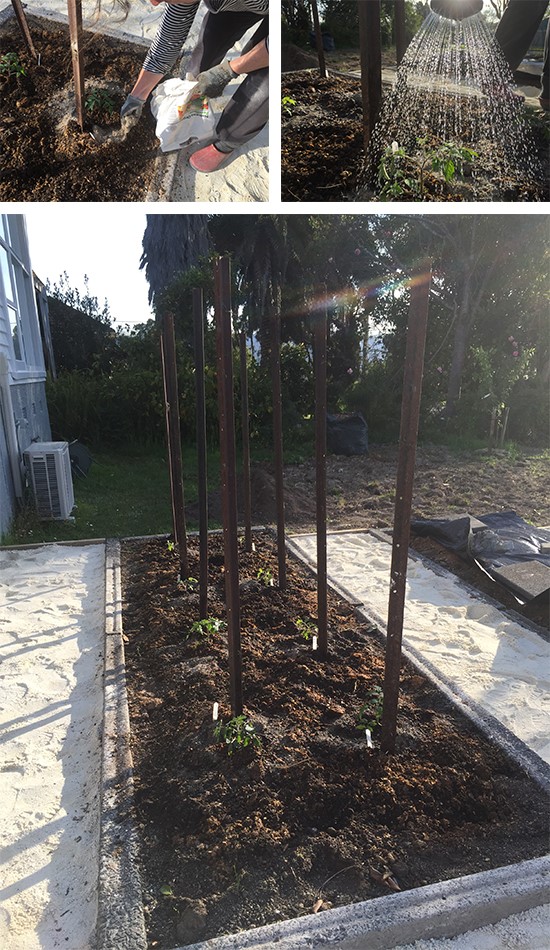
Hi there We call them waratahs (in other countries they’re called T-posts or Y-posts) and they’re usually used for fence posts through which wire is threaded. These ones are iron which have rusted. New ones would be galvanised or have some other coating to stop the rusting.