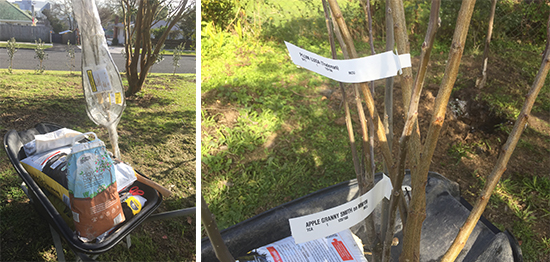
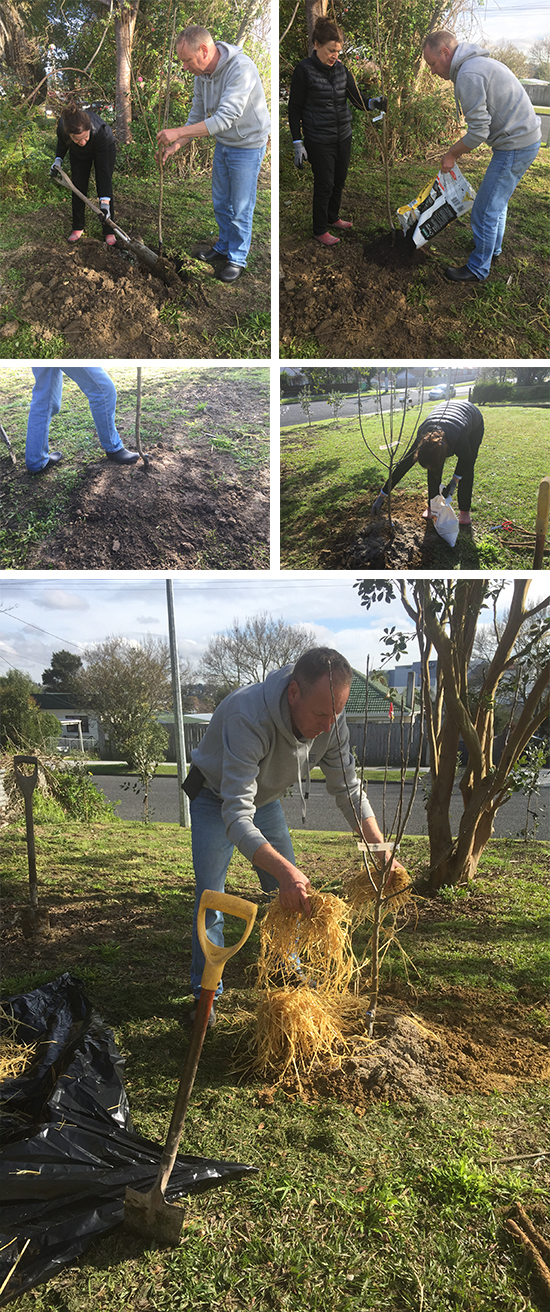
Today Rob helped me plant the first two fruit trees on our new property in West Auckland – a ‘Luisa’ plum and a ‘Granny Smith’ apple.
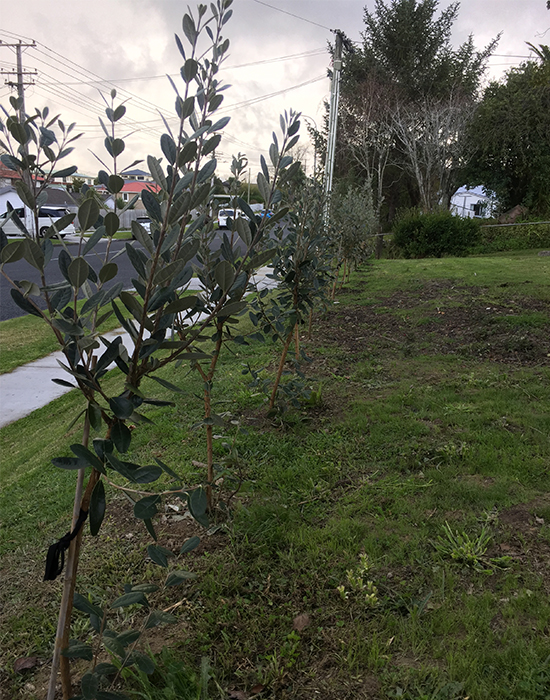
‘First’ fruit trees is not quite accurate as we put in 15 fabulous feijoas to make a hedge in early May, just before it got really cold. (12 of the 15 are ‘Apollo’, one is ‘Mammoth’ and one is ‘Triumph’ – to ensure good pollination).
This is the beginning of our new garden. I’ve managed to persuade my husband (who’s a golfer and loves mowing grass) to let me plant the whole front yard (because there’s hardly any room at the back!) in edibles. I have a plan but we’ll only be able to afford to put the fruit trees and the vegetable beds in for now. Everything else (greenhouse, shed, patios etc) can wait, but I’m keen to not miss spring vegetables. Whereas previously I had lots of fruit trees and a few vege beds along with ornamentals, now I want to see how much food I can grow in the whole of this small suburban space. I want to see if I can grow almost all our vegetables here. Rob is going to keep his knowledgeable eye on me! So today we positioned the trees – the plan is to put an avocado in closer to the feijoas, but we need to wait till it’s warmer for that. And ultimately I think we’ll replace the existent cherry guava with a peacherine, but for now it provides privacy and anyway, the peacherines were sold out at Edible Garden (where I got the other trees) this year – remember you have to order them in autumn and they get delivered bare-rooted in June/July. If they arrive earlier than now, just stand them in a cool, shady part of the garden and they’ll be fine for a few weeks.
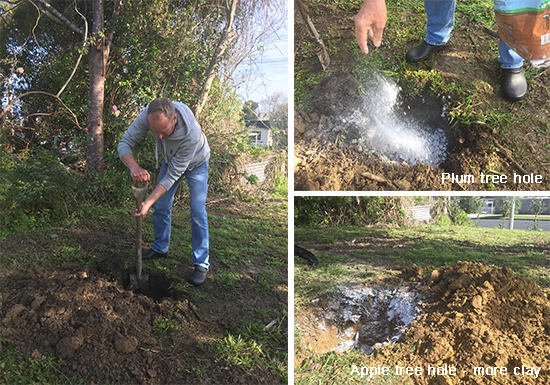
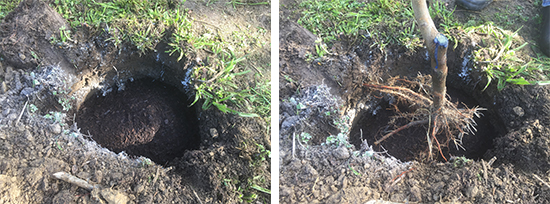
We have had some rain and with the soil having quite a high clay content, we thought it could have been puggy, but it was friable and good. (This is the start of determining what kind of soil we’re dealing with.) Despite that, we added a handful of gypsum (aka clay-breaker) to the plum hole (which was less clay-y) and two handfuls to the apple hole. Next we poured in a mound of compost to splay the roots of the tree over. Tip: point the strongest root in the direction of the prevailing wind – in our case, west.
Next, we added back some of the soil dug out of the hole. Tip: while you’re doing this, give the tree a bit of a shimmy, so that the soil falls between the roots and the trunk sits up proud out of the soil. Use your feet to gently firm the soil down. The next layer is a little more of the compost, then the rest of the original soil (firmed down with your feet), then a ring of volcanic rock dust (Natures Organic Fertiliser – a couple of handfuls – keep away from the trunk). And the last layer is the straw that kept the bare roots moist in the packaging.
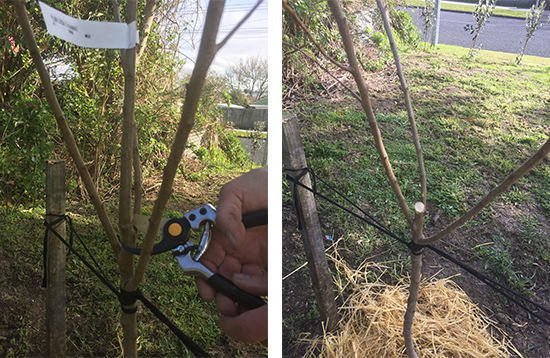
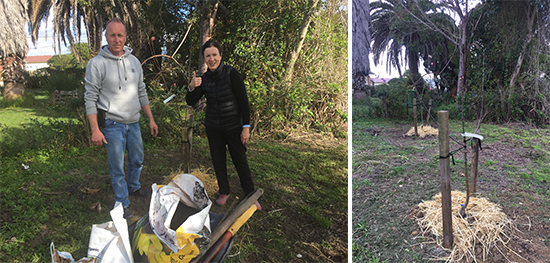
Now, we need to secure the trees – most important. Choose two sturdy posts and ram well into the soil – once again position them in the direction of the prevailing wind. Tip: as you put the stakes in the earth, make sure they lean out a bit – to withstand the tension of the ties and also the wind. Using cloth ribbon, tie the tree to each pole super securely, so that that tree doesn’t move at all. Don’t be afraid to pull tight.
Lastly, we give the branches a bit of prune. Ultimately you’re creating a vase shape, so in the case of the apple, you’ll see how we actually take the strongest branch out of the centre, in order to create that vase shape. Tip: also trim the ends of the branches to make them all the same height and always cut on an angle so rain runs off.
Check out this page on Apples and this one on Plums. And if you’d like to see a video of Rob planting a plum tree, here goes… How To Plant A Plum Tree The ‘Luisa’ plum is self-fertile, and the ‘Granny Smith’ is pretty much self-fertile, but it would benefit from another apple in the neighbourhood (officially within a 1.5 km radius). Note to self: plan to espalier an apple on the fence up the driveway.
From Jan, Rob and the Team at OEG!
2 Responses
Thankyou. What a fabulous post. The planting by the moon calendar has only two days to go. Do you have an August one so l can get cracking ?. I’m so looking forward to Spring and getting outside into the garden, after spending the last few weeks coughing and sneezing. A query. I live in North Canterbury. Every year I plant celery to have through the winter but it always has dry squashy cells. I make sure it has plenty of water…..I’m wondering if it gets frosted. Maybe I need to cover it with frost cloth? Or should I grow it at a different time of the year.? So good to get NZ gardening tips. Love you videos.
Hi Julia Thanks for your comments and yes, it is exciting looking forward to spring planting! We have each month’s calendar on our website here… https://organicediblegarden.co.nz/gardening-by-the-moon/ On 1 August it changes. If you want to have more of a long-term view so you can plan when to sow seeds, it’s probably best to purchase our calendar…https://organicediblegarden.co.nz/shop/calendar-2019/ The 2020 one will be available late August/early September.
Regarding your celery, we would recommend a feed of liquid fish and seaweed fertiliser every 2-3 weeks during the growing period. Celery requires lots of nutrients to form well. Winter is the best time to grow it. Frost shouldn’t worry celery.
All the best! 🙂